“`html
Effective Techniques for Night Videography
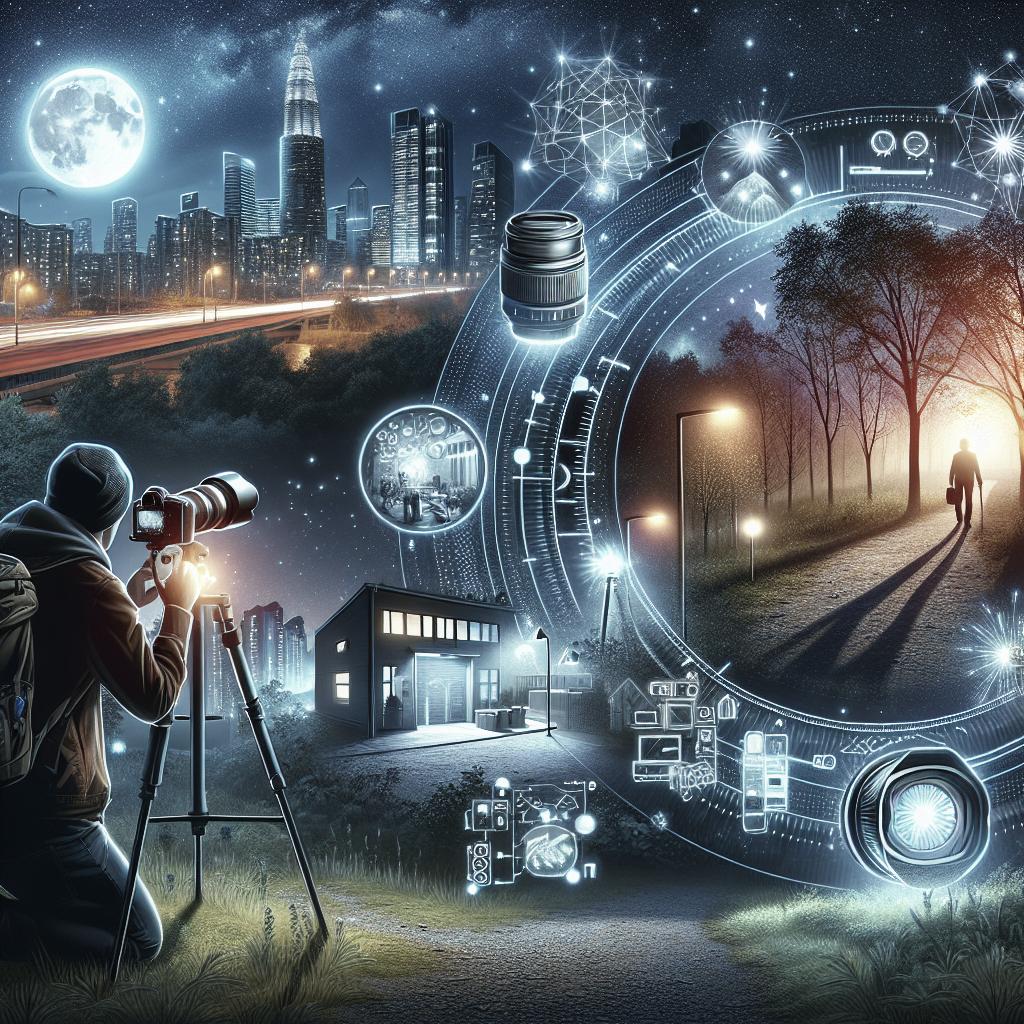
Capturing the essence of the night through videography can be both challenging and rewarding. Night videography offers the chance to experiment with unique lighting conditions and create visually stunning content. However, it requires an understanding of the technical adjustments and creative techniques needed to achieve high-quality footage in low-light environments. In this guide, we’ll explore the essential settings, equipment considerations, and shooting methods that can help videographers capture the beauty of nighttime scenes. From maximizing natural light and choosing the right gear to editing tips, these insights will elevate your night videography skills so you can effectively tell your story in the dark.
Newsletter
Night Videography Settings
One of the fundamental aspects of successful night videography is adjusting your camera settings to handle low-light conditions. Start by selecting a low shutter speed to allow more light to hit the sensor. However, balance this with the risk of motion blur if there is movement in your scene. Typically, a shutter speed of 1/50 or 1/60 of a second for capturing steady shots works well.
The aperture, or f-stop, should be opened as wide as possible (lower numbers), such as f/1.8 or f/2.8, to let in more light. This also provides the benefit of a shallow depth of field, which can add a cinematic effect to your videos. ISO settings should be increased cautiously, as high ISO can introduce digital noise. Consider an ISO range between 800-3200, depending on your camera’s capabilities.
Picture Profile
Picture profiles are critical when shooting at night, as they influence the tone and dynamic range of your footage. Many modern cameras offer custom picture profiles that can be adjusted to suit low-light conditions. Opt for profiles that enhance shadows and give control over highlights in your scene.
For night videography, profiles that boost contrast while preserving detail in both the dark and light areas are advantageous. This requires some experimentation with settings like gamma, black levels, and color adjustments. Avoid overly flat profiles at night without color grading, as they can make the footage appear washed out without proper post-production adjustments.
What Actually Makes Your Footage Good
The quality of your night videography hinges not only on settings but also on storytelling and composition. Good footage is about more than just technical perfection; it conveys a sense of place and evokes emotion. Pay attention to the composition by framing your shot thoughtfully and using leading lines to guide viewers’ eyes.
Understanding how to use light creatively to highlight subjects or create mood can dramatically improve your video quality. Look for contrasts and silhouettes, which can offer dynamic and interesting aspects of night scenes. Ultimately, blending technical savvy with creative vision is what transforms average footage into something exceptional.
Tips for Filming at Night
Filming at night demands patience and flexibility as conditions constantly change. A tripod or gimbal can greatly enhance the stability of your shots, which is crucial when working with low shutter speeds. Planning ahead and scouting locations during the day can help identify potential lighting sources and obstacles.
Keep shots static or introduce slow, deliberate camera movements. Fast pans and quick movements are harder to capture clearly in low light. Additionally, carrying portable lighting equipment or reflectors can be a game-changer, providing the extra illumination needed for specific shots or scenes.
Make the Most of the Natural Light Outside
Leveraging ambient light sources such as streetlights, car headlights, or moonlight is vital for nighttime videography. Not only can these lights add atmosphere to your scenes, but they can also act as improvised backlighting to create depth and texture.
Position your subjects in relation to these light sources strategically, making sure the light does not blow out the highlights. Emphasize the play between light and shadow, and use the available light to craft a scene that feels organic and moody.
Find Natural Light Sources Even When You’re Indoors
Shooting indoors at night presents its own set of challenges, but natural light can still play a role. Look for light sources like windows that allow moonlight or streetlight to spill into the room, creating a soft, natural illumination.
Manipulate these light sources by using curtains or blinds to control the amount of light entering the space. Mirrors can also be used creatively to reflect light and enhance the overall illumination of the set.
Adjusting Your Settings so That You’re Exposed for the Night
A critical part of night videography is ensuring your camera is set up for exposure that’s appropriate for nighttime scenes. Use histogram tools to analyze your exposure levels and avoid underexposing your subject, which can result in losing detail.
Bracketing your shots, where possible, can also help capture a series of images at different exposures. This technique allows for the selection of the best exposure during post-production, enhancing the overall quality of your footage.
If You Can, Invest in a Full-frame Camera
Full-frame cameras offer significant advantages in low-light conditions due to their larger sensors. These cameras can capture more light, resulting in better performance in dark environments. Investing in a full-frame camera can be a wise decision for those serious about nighttime videography.
The enhanced dynamic range and sensitivity to light allow for more flexibility when shooting in shadows or with minimal light. While more expensive, full-frame cameras deliver superior image quality and noise performance, making them worthwhile for capturing stunning footage at night.
Invest in Fast Lenses and Open up That Aperture
Fast lenses with wide apertures (low f-stop numbers) are invaluable tools for night videography. Lenses that open up to f/1.4 or f/1.8 let more light onto the sensor, essential for maintaining quality in low-light scenarios.
These lenses not only enable you to work with lower ISO settings but also allow for beautiful bokeh effects by isolating subjects against blurred backgrounds. Although fast lenses can be more expensive, they are a worthwhile investment for serious filmmakers looking to expand their nighttime capabilities.
Shoot in 24 Frames per Second
To achieve a cinematic look in your night videos, shooting at 24 frames per second (fps) is recommended. This frame rate mirrors that used in film production, offering a more natural motion blur and aesthetic appeal.
Working with 24fps also allows the camera to better handle low-light situations, as slower frame rates mean longer exposure and more light capture per frame. This tradeoff can improve overall image quality while still maintaining a stylistic look.
Increase Your ISO Last
When enhancing sensitivity to light, increase your ISO as a last resort. Higher ISO levels can introduce unwanted noise and degrade image quality, especially noticeable in darker areas.
Try maximizing other settings first, such as aperture and shutter speed, before opting to raise the ISO. Some cameras offer noise reduction features; however, these can soften details. Carefully balance ISO settings to maintain clarity in your footage.
Use the Magic Hour
The “magic hour,” shortly after sunset or before sunrise, offers a unique opportunity for night videography. The natural light is soft and even, providing the perfect transition between daylight and the darkest hours.
Using this time to capture footage can result in beautifully lit scenes that don’t require as much dependence on artificial lighting adjustments. The magic hour’s gentle glow can add a warm, ethereal quality to your videos, elevating their visual narrative.
Don’t Use LOG Footage
While LOG footage is favored in many daytime scenarios for its flexibility in post-production color grading, it’s often unsuitable for night videography. Low-light scenes can suffer from excessive noise and color banding when shooting in LOG.
Instead, use picture profiles designed for low-light or standard profiles that complement nighttime conditions. These profiles preserve more detail and reduce the need for intensive grading, allowing for cleaner, more vibrant footage.
Edit Your Video in Post-production
Finally, the post-production process is crucial in night videography. Take advantage of editing software to enhance your footage by adjusting color balance, exposure, and contrast settings.
Use noise reduction tools judiciously to minimize digital noise without compromising detail. Pay attention to the overall mood and tone during editing, ensuring that the story you want to tell comes through clearly and beautifully.
Next steps
| Technique | Description |
|---|---|
| Night Videography Settings | Adjust shutter speed, aperture, and ISO to suit low-light conditions. |
| Picture Profile | Choose profiles that enhance shadows and preserve detail. |
| What Makes Footage Good | Blend technical skills with creative storytelling and composition. |
| Tips for Night Filming | Use stabilizers, plan shots, and be mindful of lighting conditions. |
| Make the Most of Natural Light | Utilize streetlights, moonlight, or car headlights outdoors. |
| Find Light Indoors | Use windows or reflective surfaces to enhance natural indoor light. |
| Exposure Settings | Ensure proper exposure with tools like histograms and bracketing. |
| Invest in Equipment | Consider full-frame cameras and fast lenses for better low-light performance. |
| Shoot at 24fps | Achieve a cinematic look with motion blur suited for low-light. |
| ISO Sensitivity | Increase ISO last to avoid noise; explore other settings first. |
| Use the Magic Hour | Capture footage during twilight for soft, even lighting. |
| Avoid LOG Footage | Opt for non-LOG profiles to avoid noise and color issues in low light. |
| Post-production Editing | Fine-tune exposure, colors, and noise during editing to enhance footage quality. |
“`