“`html
Enhancing Video Projects with Color Grading
In the world of video production, creating visually appealing content is crucial. A significant part of this involves the sophisticated art of color grading. This process elevates your footage from average to outstanding by adjusting the colors to better fit the narrative style, mood, or any artistic direction intended for the project. Understanding the difference between color grading and color correction is essential for videographers to deliver professional-quality visuals. In this guide, we will explore these facets of video production, elaborate on the tools and techniques involved, and offer insight into how you can improve your skill set for color grading and correction to enhance your video projects.
Color grading vs color correction: what’s the difference?
Though often used interchangeably, color grading and color correction refer to different phases in the post-production workflow. Color correction is the technical process that involves adjusting the color levels in your footage to achieve a natural, balanced color palette. This is an essential first step that ensures the colors in your video appear as they are meant to in real life.
Color grading, on the other hand, is more creative and artistic. It involves manipulating colors to convey specific tones, moods, and aesthetics that amplify the storytelling of the film or video project. While color correction seeks to fix what isn’t technically correct, color grading fine-tunes the visual narrative intended by the filmmaker or director.
What is color correction?
Color correction is essential to make sure your video footage looks as accurate to reality as possible. It’s about fixing discrepancies in exposure, white balance, contrast, and any color imbalances that occurred during the shooting process. The goal is to create a consistent look across all the shots in a scene or sequence.
This process involves adjusting the blacks, whites, highlights, and shadows of footage to align with traditional viewing expectations. It also ensures that skin tones appear natural and that no part of the video is overly bright or dark unless intended for artistic reasons.
How to color correct in 5 steps
Step 1: Set your monitor for accuracy. Ensure your display is calibrated correctly to have a reliable color baseline.
Step 2: Adjust the white balance. Use your editing software to set the correct white balance, reducing any color casts.
Step 3: Correct exposure levels. Adjust the brightness, contrast, highlights, and shadows to balance the exposure.
Step 4: Match the color tones. Use scopes to match blacks and whites across multiple clips for consistency.
Step 5: Tweak saturation levels as needed. Ensure that the footage doesn’t look saturated or under-saturated.
Color correction vs. color grading video tutorial
To better appreciate the distinction between color correction and color grading, refer to video tutorials that visually walk through the processes. You’ll typically find that color correction handles the technical precision required to correct image abnormalities, while color grading adds style and emotion to the visual narrative.
Many video editing software platforms provide built-in tutorial resources as well as user-generated tutorials available on platforms like YouTube and Vimeo. These tutorials can give you a solid foundation and practical demonstrations to learn from and practice the differences firsthand.
Color saturation vs. color brightness
Color saturation refers to the intensity of a color in your video footage. Highly saturated colors are vivid and more vibrant, while lower saturation can leave colors appearing muted and washed out. Altering saturation can have a profound impact on the mood and tone of your video project.
Color brightness, on the other hand, relates to the lightness or darkness of a color. Manipulating brightness can highlight certain elements within a video scene, helping to draw the viewer’s attention or create a specific ambiance. Together, saturation and brightness adjustments allow editors to enhance the storytelling elements of video projects significantly.
Color correction before and after
Viewing examples of color correction before and after can reveal dramatic improvements. Before correction, footage can appear flat, with incorrect hues and issues with exposure levels. After correction, visuals appear more cohesive, with balanced tones and precise coloring that aligns with real-life appearances.
This visual transformation highlights the critical nature of meticulous color correction in ensuring uniformity across scenes, which can significantly improve the film’s professionalism and viewer immersion.
What is color grading?
Color grading involves adjusting and enhancing the colors of your footage for artistic purposes. This practice uses a variety of techniques, including altering hue, saturation, and lightness, to align with the desired aesthetic or emotional tone of the content.
In many cases, it’s color grading that adds the cinematic feel to a video project, enhancing the emotional impact and supporting the narrative through deliberate contrasts and vibrant yet balanced mimicking of visual moods.
What are LUTs in color grading?
LUTs, or Look-Up Tables, are essential tools for color grading. They are mathematical formulas that quickly apply specific color grades across your footage. Using LUTs is akin to applying a filter on social media, allowing for consistent and efficient color grading within a project.
Videographers often use LUTs to maintain visual consistency and save time, especially in projects that require a unified look and style for multiple scenes or when working within specific aesthetic parameters set by directors.
Understanding color grading: how to color grade in 5 steps
Step 1: Start with a color-corrected base. Ensure your footage is color corrected before beginning the grading process.
Step 2: Choose a color palette. Determine the color scheme that aligns with the story being told.
Step 3: Apply LUTs with consideration. Select LUTs that suit your project and modify them as needed to customize the look.
Step 4: Adjust contrast and brightness carefully. Ensure that changes support the visual narrative without compromising quality.
Step 5: Fine-tune hues and dynamic ranges. Precision in adjustments ensures the mood and tone are perfectly captured.
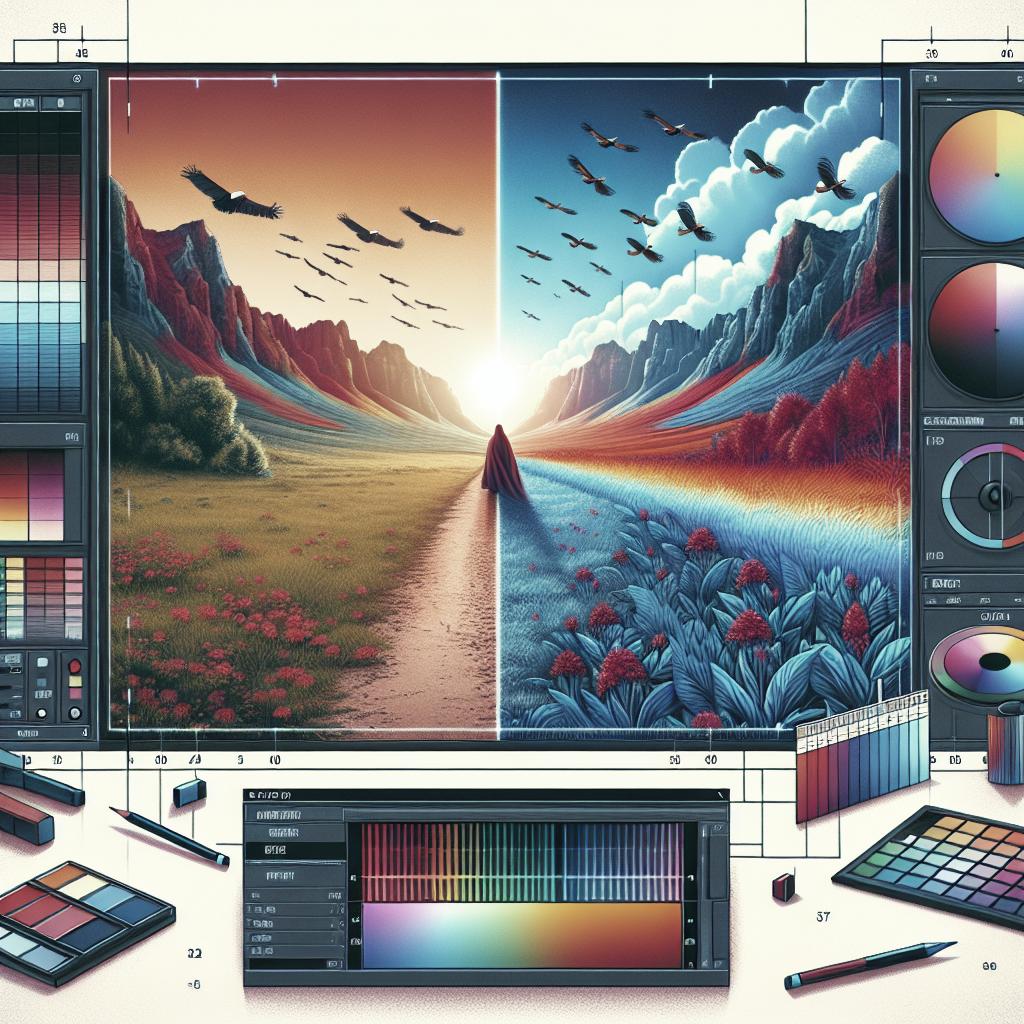
Color grading before and after
Observing the differences in footage before and after color grading can be revelatory. Initially, the raw footage may seem lackluster or unpolished. Upon applying color grading techniques, each scene can take on a vibrant life, capturing the audience’s interest and heightening the emotional resonance.
The meticulous work of color grading is what often changes a simple video into a cinematic experience, showcasing its essential role in professional film and video production.
How can I tell which my footage really needs?
Determining whether your footage requires color correction, color grading, or both depends on the goals of your project and the current state of your visuals. If there are technical discrepancies like incorrect white balance or exposure, start with color correction.
Once your footage is technically sound, consider color grading if the project demands a distinct visual style or mood that isn’t present in the raw footage. The goal is to ensure that both the technical and artistic elements align with the intended outcome of the project.
What tools can I use for color grading or color correcting?
Various tools are available for color grading and correction, each offering different levels of user control and precision. Professional software like Adobe Premiere Pro, DaVinci Resolve, and Final Cut Pro are industry favorites, offering robust tools and scopes for comprehensive edits.
For beginners, simpler software like iMovie or certain mobile apps provide fundamental correction and grading functions to improve video quality without overwhelming complexity, making them an excellent starting point for amateurs.
FAQs
What is the first step in color correction? The first step is to ensure your footage is accurately adjusted for white balance and exposure.
Can I use LUTs without color correction? It’s not advisable. LUTs work best with footage that has already been color corrected for accurate baseline levels.
Putting it all together
Mastering color grading and correction is about more than just improving the beauty of your footage; it’s about enhancing the storytelling. With the right adjustments, your video can more effectively convey emotions and ideas, improving viewer engagement and satisfaction.
Keep learning with Vimeo Video School
To build on what you’ve learned about color grading and color correction, Vimeo Video School offers resources for continued education. These classes provide in-depth tutorials to refine your skills and stay current with the latest video production techniques.
| Aspect | Details |
|---|---|
| Color Correction | Technical process ensuring footage appears true to life; corrects exposure, white balance, and color imbalances. |
| Color Grading | Artistic process enhancing the story through mood and style; uses hue, saturation, brightness adjustments. |
| Tools | Professional software includes Adobe Premiere Pro, DaVinci Resolve, Final Cut Pro. Beginner options like iMovie. |
| Steps | Color correction and grading involve sequential steps to prepare and enhance footage for visual storytelling. |
“`