“`html
How to Achieve Natural Motion Blur in Videos
Achieving the perfect natural motion blur in videos is an art that combines technique, creativity, and the right equipment. Whether capturing a bustling cityscape or shooting a dynamic SPORTS phenomenon, learning how to instill motion blur can enhance the video’s aesthetic appeal and the audience’s experience. This article will guide you through different techniques to master natural motion blur in videos with a strong emphasis on Hyperlapse Vertigo Effect and Flow Motion Video. Additionally, we will explore efficient workflows for post-production and address common questions, ensuring your transition from beginner to motion blur expert is smooth and informative.
Hyperlapse Vertigo Effect [TUTORIAL]
The Hyperlapse Vertigo Effect, often referred to as the dolly zoom, is an impressive technique that can create breathtaking motion blur in your videos. This method involves moving the camera while simultaneously zooming in or out with the lens. The result is a surreal distortion where the background changes size relative to the subject. To achieve this effect, ensure you have a steady camera platform—like a gimbal or slider—and plan your shots meticulously. Decide on a point of interest to maintain the subject’s size in the frame while the background zooms dramatically.
Achieving this effect in a natural motion blur context is about precision and timing. The movement of the camera should be fluid and consistent, allowing the blur to develop organically rather than appearing forced. Pre-planning your camera path and maintaining a steady speed will enhance the final visual output. Additionally, post-production software can be used to fine-tune adjustments, giving your hyperlapse a professional edge.
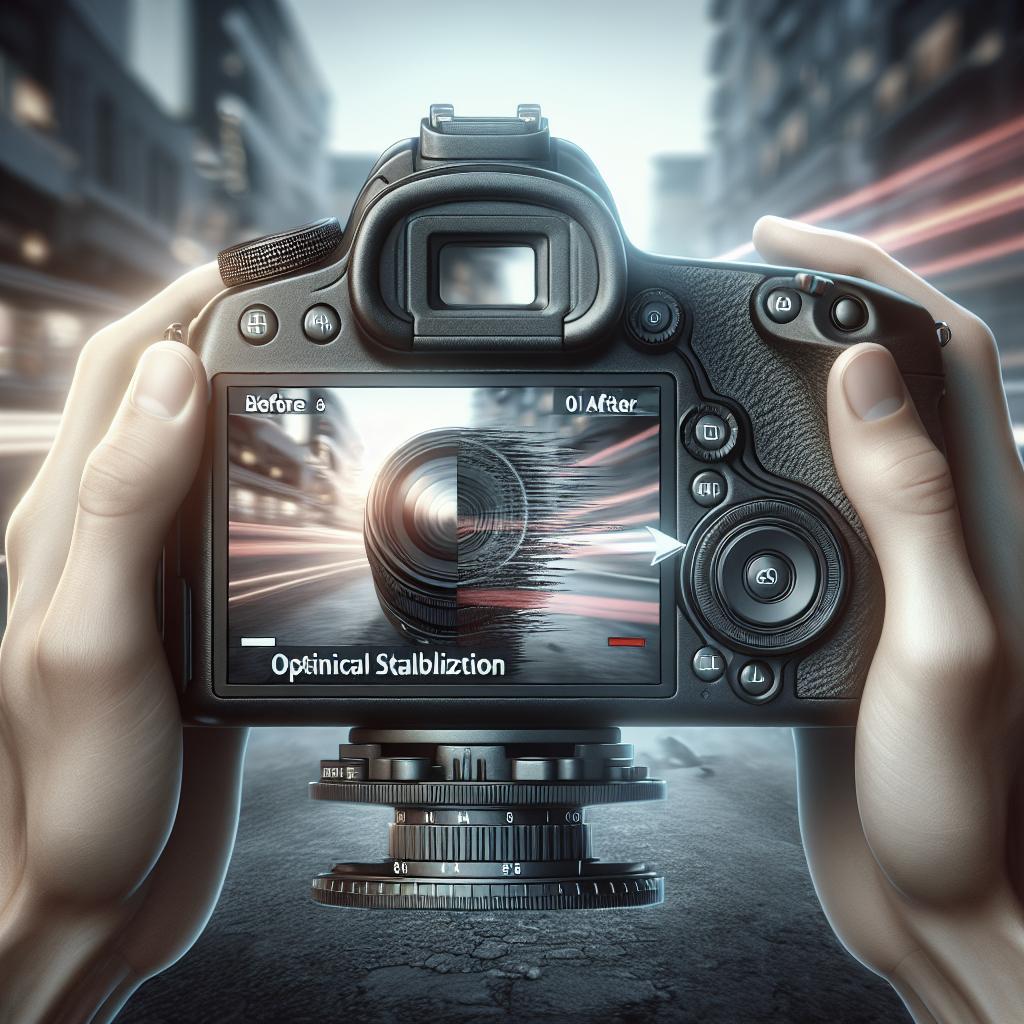
Flow Motion Video [TUTORIAL]
Flow motion videos showcase seamless transitions and smooth motion blur over extended sequences. This technique often involves shooting in paths that allow static to dynamic transitions. The key to success with flow motion is using stabilizers, planning your motion paths meticulously, and blending shots harmoniously in post-production. Consider using image stabilization software to manage handshake and jitter, ensuring your footage meets professional standards.
Begin by mapping out your narrative; plot where visual emphasis should lie. Adjust your camera settings to allow for slower shutter speeds, which naturally enhance blur. During post-production, apply crossfades and speed adjustments to knit the motion seamlessly. Color grading and ambient sound effects are also useful for enhancing the immersive feel of your flow motion video.
Share this:
Share our tips and tricks on achieving stunning natural motion blur in videos. Help your fellow creatives push the boundaries of traditional video-making. Feel free to use the social media links below to spread the knowledge!
Related
If you’re interested in more video-making techniques and trends, explore other articles and resources that showcase DIY tips and industry insights. Stay informed and innovative by delving into new creative content regularly.
Be More Efficient With Timelapse Post-Production – My Timelapse Workflow
Efficiency in timelapse post-production can save you both time and resources. Start by organizing your footage into manageable segments and using automated software to handle repetitive tasks like color correction and noise reduction. Utilize metadata tagging for easy retrieval and adjustments along your video timeline.
Emphasize workflow simplicity by creating a repeatable process that can be adapted to different projects. Consider software tools that provide real-time previews and batch processing to enhance productivity. A streamlined approach not only improves efficiency but ensures consistency in the quality of your outputs.
Difference Between Timelapse, Hyperlapse and Stop Motion
The differences between timelapse, hyperlapse, and stop motion lie primarily in their execution and visual outcome. Timelapse involves capturing frames at set intervals and compiling them to showcase change over time, ideal for rendering things like sunrises or heavy traffic. Hyperlapse, however, adds dynamic camera movement in addition to time-lapse shooting for added depth and interest.
Contrarily, stop motion focuses on individual frame manipulation to create motion, often used in animation. Understanding each method’s unique approach allows you to better decide which technique suits your creative vision and project needs, particularly when incorporating natural blur effects.
Are you too lazy for timelapse? Q&A VIDEO.
Creating a timelapse might seem daunting, but the process doesn’t need to be tedious. In our Q&A video, we answer common questions about simplifying the workflow, choosing equipment, and getting consistent results. There is a focus on dispelling myths that timelapse production is only for the pros.
The goal is to inspire even the laziest of us to get started with small projects that grow in complexity and skill over time. Engaging content, easily digestible information, and shared experiences make learning accessible, encouraging viewers to experiment with timelapse and motion blur effects.
| Technique | Key Characteristics | Benefits |
|---|---|---|
| Hyperlapse Vertigo Effect | Camera movement and simultaneous zoom | Dramatic background to subject size ratio |
| Flow Motion Video | Smooth transitions and blur over sequences | Creates a seamless narrative and motion |
| Timelapse Workflow | Organized footage and automation | Efficiency and consistent quality |
| Timelapse, Hyperlapse, Stop Motion | Different capture and editing techniques | Unique aesthetic outcomes |
“`